.jpg&w=128&q=75)
Are you intrigued by the world of electronics and eager to dive into the realm of microcontrollers? Arduino is an excellent platform for beginners and seasoned enthusiasts alike to explore the fascinating world of physical computing. In this guide, we'll walk through the basics of Arduino programming, provide some code examples, and offer tips to help you get started on your Arduino journey.
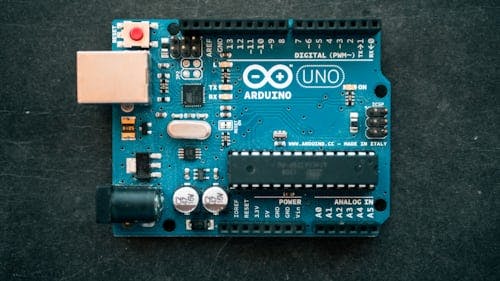
What is Arduino?
Arduino is an open-source electronics platform based on easy-to-use hardware and software. It consists of a microcontroller board and a development environment for writing, compiling, and uploading code to the board. Arduino boards come in various shapes and sizes, catering to different project requirements.
Setting Up Your Arduino Environment
Before we delve into programming, let's set up our Arduino environment. Follow these simple steps to get started:
- Download the Arduino IDE: Visit the official Arduino website (https://www.arduino.cc/en/software) and download the Arduino Integrated Development Environment (IDE) suitable for your operating system.
- Install the IDE: Once the download is complete, follow the installation instructions provided on the website.
- Connect Your Arduino Board: Connect your Arduino board to your computer using a USB cable. Ensure that the necessary drivers are installed if you're using a specific Arduino variant.
- Select Your Board and Port: Launch the Arduino IDE, navigate to the 'Tools' menu, and select the appropriate board from the 'Board' submenu. Similarly, choose the correct port from the 'Port' submenu.
Your First Arduino Sketch
Now that our environment is set up let's dive into some programming. In Arduino, programs are called sketches. Open the Arduino IDE and follow along with this simple LED blinking example:
// Define the pin connected to the LED
const int ledPin = 13;

void setup() {
 // Initialize the digital pin as an output
 pinMode(ledPin, OUTPUT);
}

void loop() {
 // Turn the LED on
 digitalWrite(ledPin, HIGH);
 delay(1000); // Wait for 1 second

 // Turn the LED off
 digitalWrite(ledPin, LOW);
 delay(1000); // Wait for 1 second
}
Understanding the Code
const int ledPin = 13;: This line declares a constant integer variable named ledPin and assigns it the value 13. This is the pin number to which the LED is connected.
void setup(): The setup() function is called once when the Arduino board is powered on or reset. In this function, we initialize the digital pin ledPin as an output using the pinMode() function.
void loop(): The loop() function is where the main code execution happens. It runs continuously after the setup() function finishes. In this function, we turn the LED on, wait for one second, turn it off, and wait for another second.
Uploading the Sketch
Once you've written the code, it's time to upload it to your Arduino board. Follow these steps:
- Click the 'Upload' button (the right arrow icon) in the Arduino IDE toolbar.
- The IDE will compile your sketch and upload it to the connected Arduino board.
- Once the upload is complete, you should see the LED blinking on your Arduino board.
Conclusion
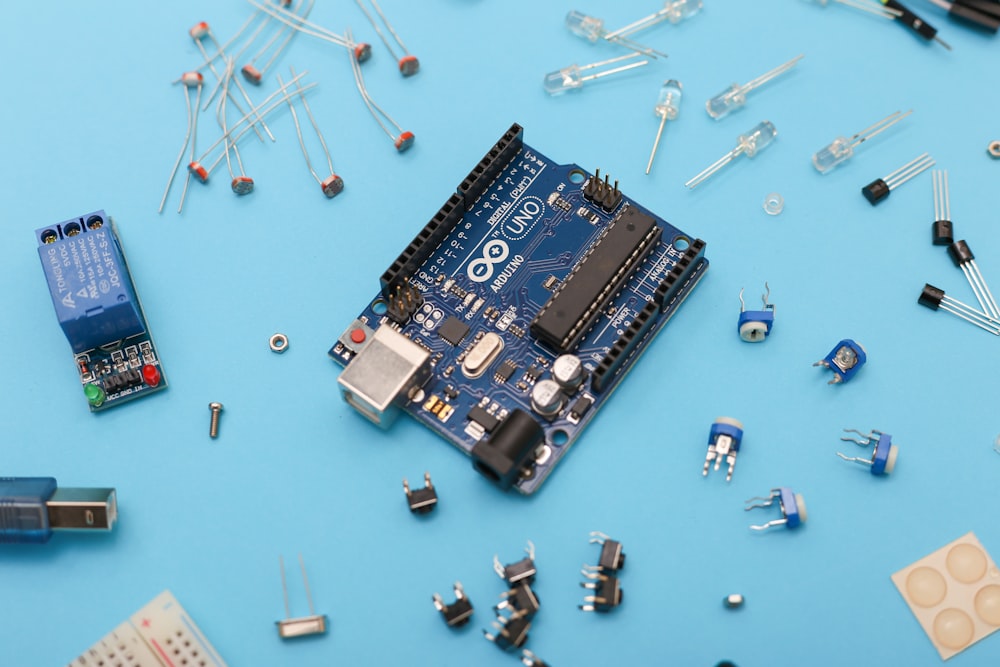
Congratulations! You've written and uploaded your first Arduino sketch. This is just the beginning of your Arduino journey. Experiment with different components, sensors, and actuators to create exciting projects. Remember, the Arduino community is vast and supportive, so don't hesitate to seek help or share your creations. Happy tinkering!