.jpg&w=128&q=75)
Servo motors are great devices that can turn to a specified position.
They typically have a 180-degree rotating servo arm. A servo can be programmed to move to a specific location using the Arduino, and it will do so. Just like that!
The first applications for servo motors were in the field of remote control (RC), typically for controlling an RC car's steering or an RC plane's flaps. Over time, they discovered applications in the fields of robotics, automation, and of course Arduino.
In this section, we'll look at how to connect a servo motor and then turn it in various directions.
Seven years ago, I connected a servo motor to an Arduino for the first time. After this nostalgic moment, get back to work!
The following are the items we'll need:
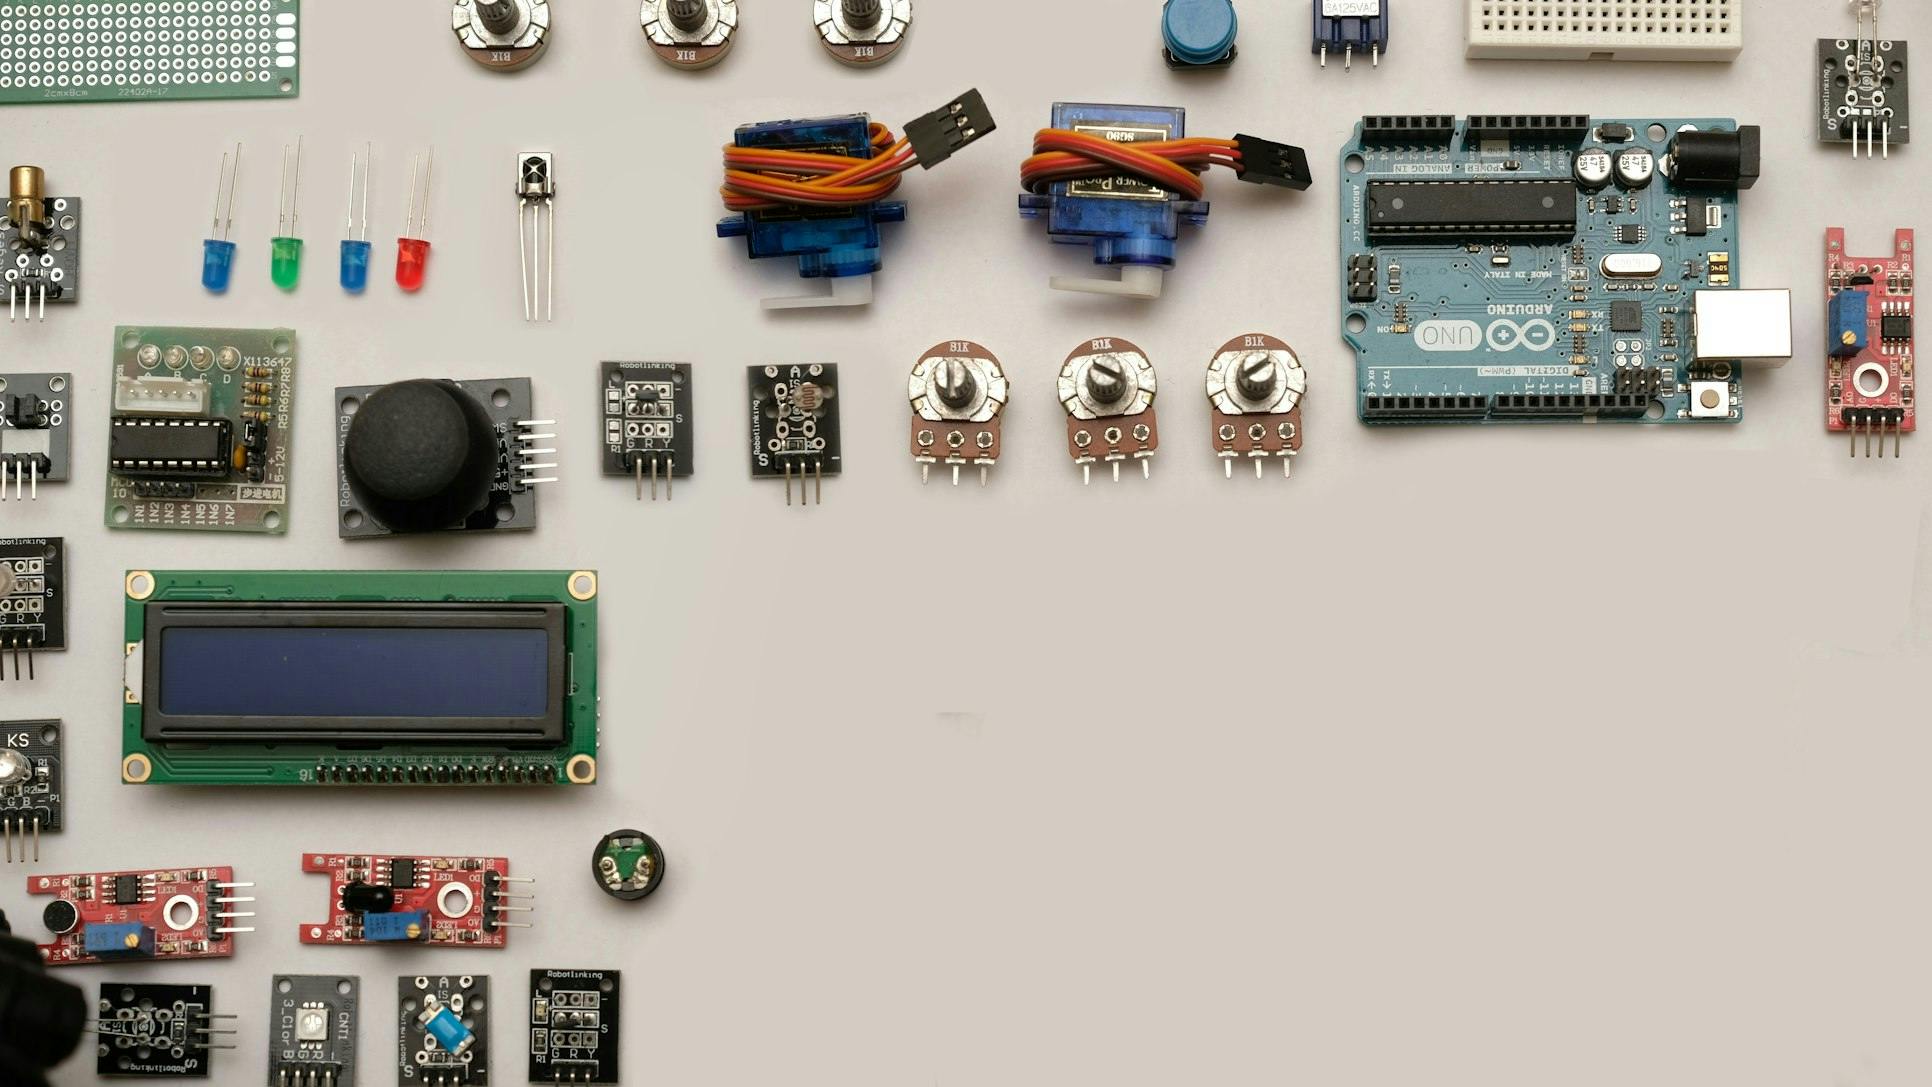
- An Arduino board that is USB-connected to a computer
- A servo mechanism
- Wire jumpers
Not many well-known brands exist in the servo motor industry. Futaba and Hitec are the top two producers of RC servos. Sparkfun, Hobbyking, and Servocity are good places to get them.
Step 1: How to Connect Them

Everything needed for a servo motor is integrated into it, including the motor, feedback circuit, and—above all—a motor driver. All that is required is a single control pin, one ground, and one power line.
The procedures to link a servo motor to an Arduino are as follows:
- A three-pin female connector is attached to the servo motor. The ground is usually the darkest, if not the blackest. Attach this to the GND of the Arduino.
- Attach the power cable to the Arduino's 5V port, which by all standards should be red.
- A digital pin on the Arduino should be connected to the last line on the servo connector.
- View of the servo attached to the Arduino can be seen by examining the image.
Step 2: Code
The following code will turn a servo motor to 0 degrees, wait 1 second, then turn it to 90, wait one more second, turn it to 180, and then go back.
// Include the Servo library
#include <Servo.h>
// Declare the Servo pin
int servoPin = 3;
// Create a servo object
Servo Servo1;
void setup() {
   // We need to attach the servo to the used pin number
   Servo1.attach(servoPin);
}
void loop(){
   // Make servo go to 0 degrees
   Servo1.write(0);
   delay(1000);
   // Make servo go to 90 degrees
   Servo1.write(90);
   delay(1000);
   // Make servo go to 180 degrees
   Servo1.write(180);
   delay(1000);
}
Step 3: How It Works

Servos are clever devices. Using just one input pin, they receive the position from the Arduino and they go there. Internally, they have a motor driver and a feedback circuit that makes sure that the servo arm reaches the desired position. But what kind of signal do they receive on the input pin?
It is a square wave similar to PWM (pulse width modulation). Each cycle in the signal lasts for 20 milliseconds and for most of the time, the value is LOW. At the beginning of each cycle, the signal is HIGH for a time between 1 and 2 milliseconds. At 1 millisecond it represents 0 degrees and at 2 milliseconds it represents 180 degrees. In between, it represents the value from 0–180. This is a very good and reliable method. The graphic makes it a little easier to understand.
Remember that using the Servo library automatically disables PWM functionality on PWM pins 9 and 10 on the Arduino UNO and similar boards.
Code breakdown
The code simply declares the servo object and then initializes the servo by using the servo.attach() function. We shouldn't forget to include the servo library. In the loop(), we set the servo to 0 degrees, wait, then set it to 90, and later to 180 degrees.
Step 4: Additional Servo Information
It's simple to operate servos, and here are some additional tips we can apply:
Regulating the precise pulse rate
Servo control is made easier by the built-in function servo.write(degrees) in Arduino. But not every servo adheres to the same timings at every position. One millisecond typically corresponds to zero degrees, 1.5 milliseconds to ninety degrees, and two milliseconds, naturally, to 180 degrees. The ranges of certain servos are bigger or smaller.
The servo.writeMicroseconds(us) function, which accepts the precise number of microseconds as a parameter, can be used for more control. Recall that 1,000 microseconds make up one millisecond.
Servos with constant rotation
A unique type of servo known as continuous rotation servos exists. A continuous rotation servo rotates either clockwise or counterclockwise at a speed proportional to the signal, whereas a normal servo moves to a specific position based on the input signal. For instance, the servomotor will spin fully clockwise when the Servo1.write(0) function is used. The motor will be stopped by the Servo1.write(90) function, and it will be fully rotated clockwise by Servo1.write(180).
These servos have a lot of applications, but they are very slow. This is the option you have if you are building a microwave and need a motor to rotate the food. But use caution—microwaves can be harmful!